Page Summary
On this page we cover the features and functionality of the JADE Install Manager.
JADE Install Manager
The Install Manager is responsible for managing the installed JADE assets: plugins, dependencies, examples, SDK, and DEVKIT. In general, assets are versioned and multiple versions of a given asset may be installed at the same time. The only assets which aren’t versioned are examples (each example stands on its own).
The Install Manager interface lists the installed assets and their versions, and provides all relevant operations on those assets. It also displays a log of all operations taken during a given session in the Install Manager. A new session is started each time Install Manager is opened. The footer shows an overall health status and the number of each asset type installed.

JADE Bundles
A JADE Bundle is a package file (JADB file, *.jadb) containing JADE assets and is the mechanism by which JADE assets are installed. JADE Bundles may be downloaded from the My JADE page (pre-built bundles) or from the Online Bundler page (custom bundles with only selected assets).
Installing JADE Bundles
Install JADE Bundles choose File >> Install Bundle... from the menu or simply double-click on the *.jadb file:
![]()
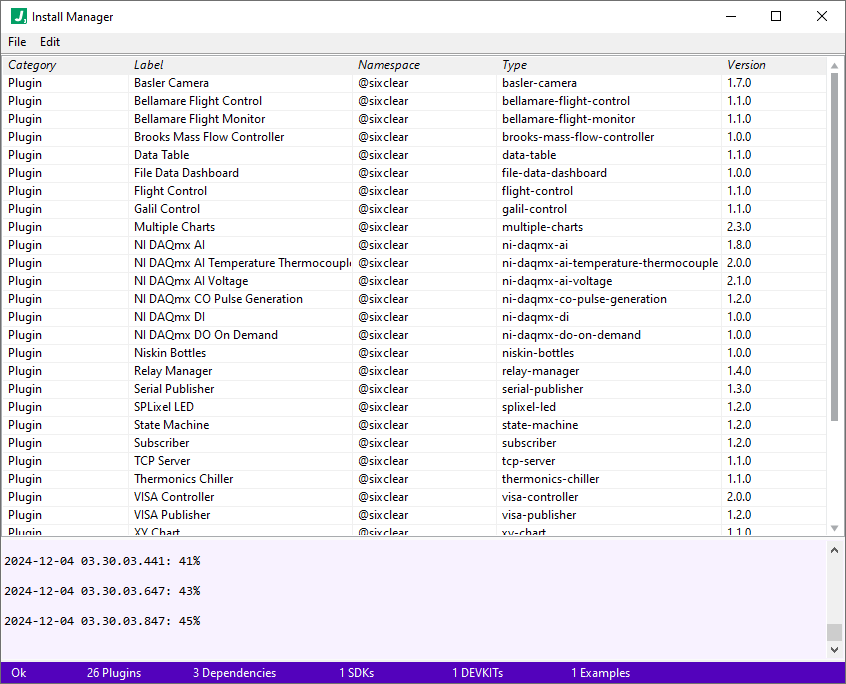
While the bundle is in progress, Install Manager will display updates in the log:
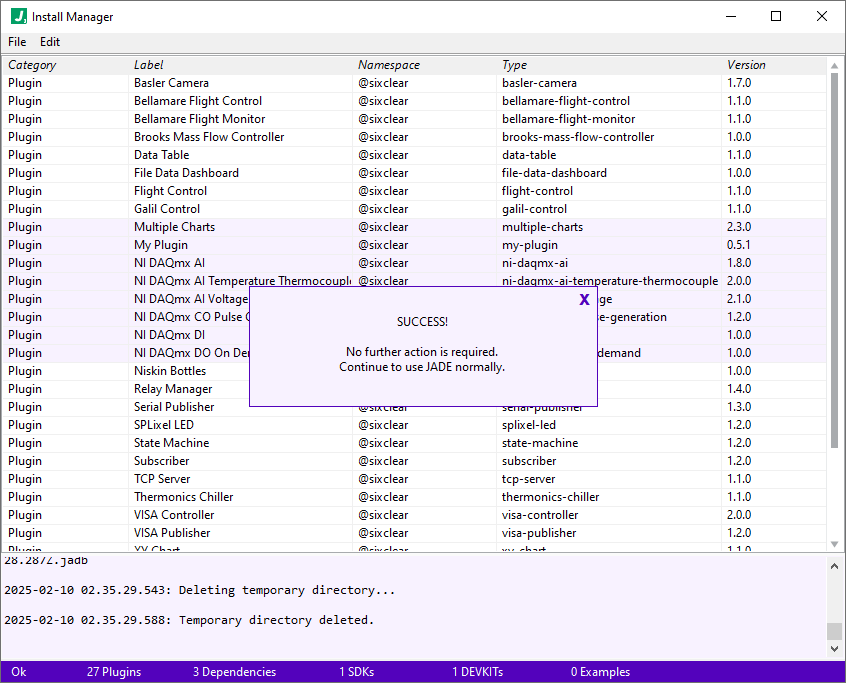
When the bundle installation finishes, Install Manager displays a message:
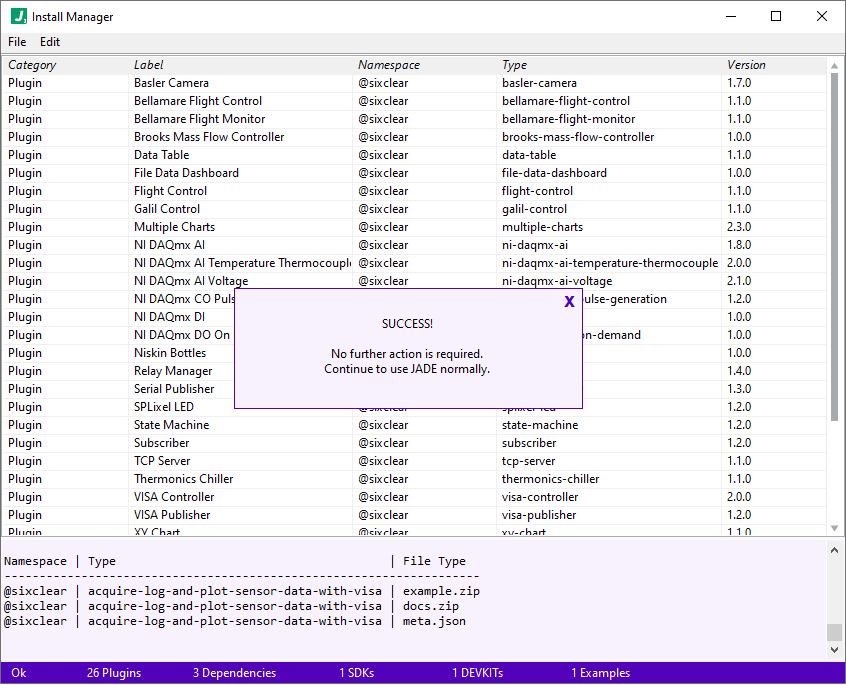
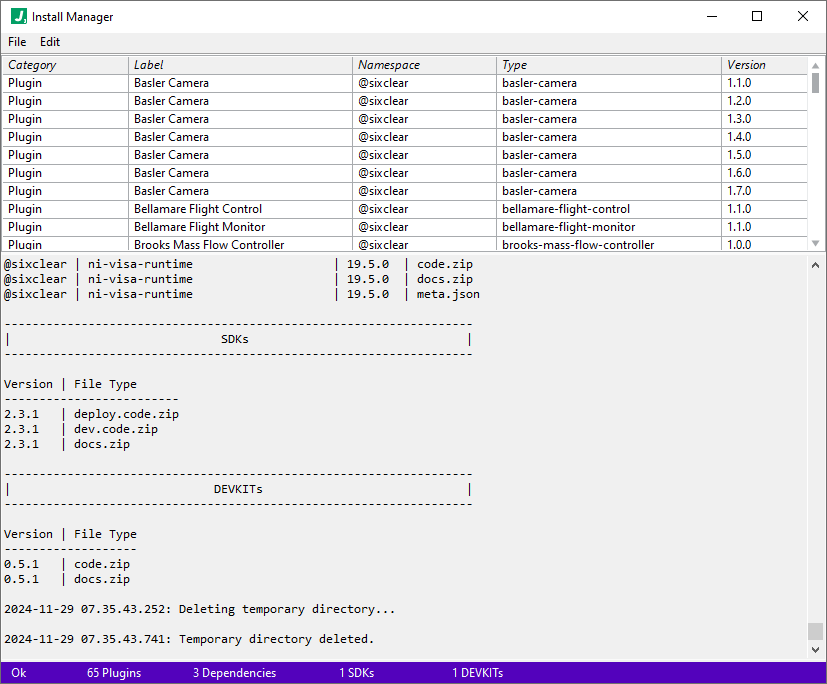
And after dismissing the success message, the log returns to it’s idle state (though maintains the log history for the session, including installation details):
Creating Bundles
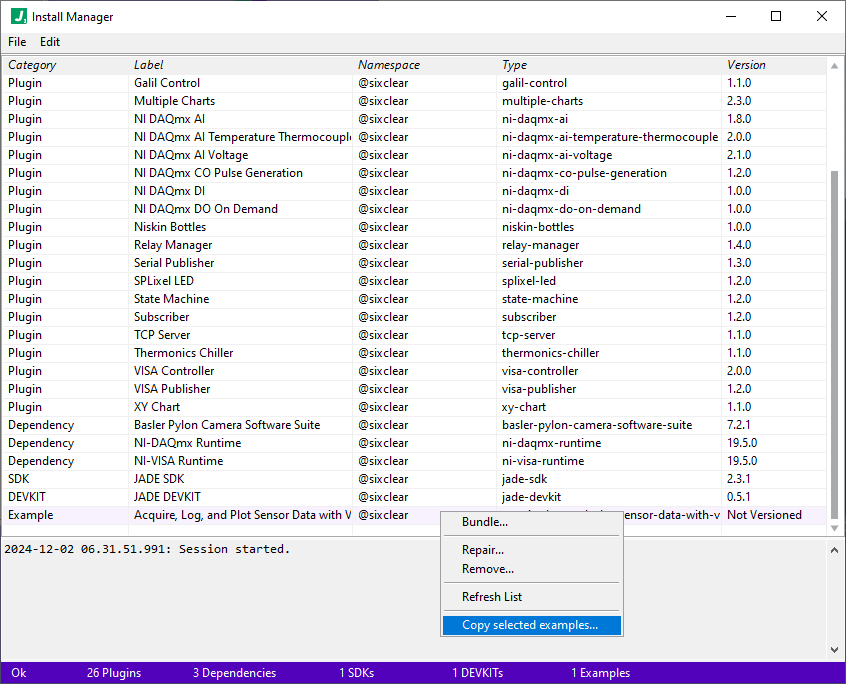
Bundles are created either in Install Manager or using the Online Bundler. Here we focus on how they created in Install Manager. Simply select any subset of installed assets, right-click, and choose the Bundle... option:
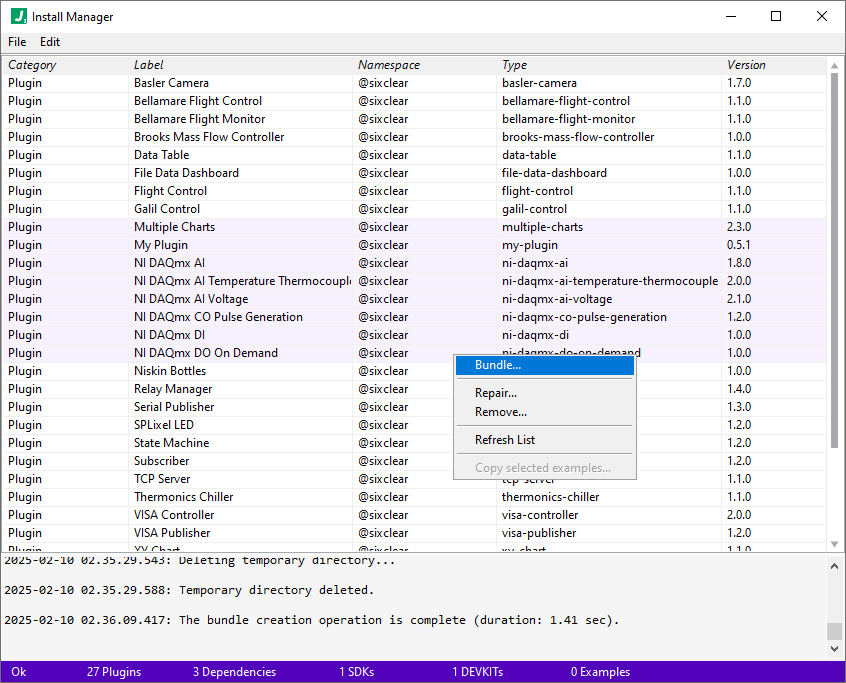
When the bundle process completes, the log will location information and Install Manager will display a success message:
JADE Bundles created this way are named with a timestamp and stored in the location specified in the JADE Preferences.
Repairing Assets
Choosing the Repair option from the right-click menu will repair assets from a healthy copy in the JADE assets store. Assets rarely need to be repaired, however when using DEVKIT there may be cases where you would like to restore an asset. We defer this discussion to the JADE DEVKIT documentation.
Removing Assets
Choosing the Repair option from the right-click menu will remove assets from the local installation. Assets may be reinstalled anytime using a JADE Bundle containing those assets.
Refreshing the Asset List
Choosing the Refresh Asset List option from the right-click menu will refresh JADE’s asset store. JADE automatically refreshes the store whenever assets are installed, removed, or repaired. This right-click option is primarily used when developing custom plugins with DEVKIT, where after building a plugin this option will make the custom plugin available in JADE. See the JADE DEVKIT documentation for more details.
Copying Selected Examples
If one or more examples are selected (without selecting other asset types). then choosing the Copy selected examples... option from the right-click menu will prompt for a file location in which to save a copy of the selected examples.
The approach to installed examples is to have users save copies of the examples so that they may freely modify the copy without the concern of overwriting JADE’s copy of the example.
File Menu
The File menu has just 3 options: Install Bundle..., Save Log..., and Close.
Install Bundle...- installs a selected bundle from the file systemSave Log...- saves the current Install Manager session log. Note that the log can also be saved by right-clicking on the log and selectingSave Log....Close- ends the current session and closes the Install Manager
Edit Menu
The Edit menu mirrors the right-click menu and is provided for convenience and accessibility in the event a right-click operation is unavailable. See the notes above regarding the right-click operations for more details.
Log Features
The log at the bottom of the Install Manager window tracks all operations for a given Install Manager session. It also has a right-click menu with a few options:
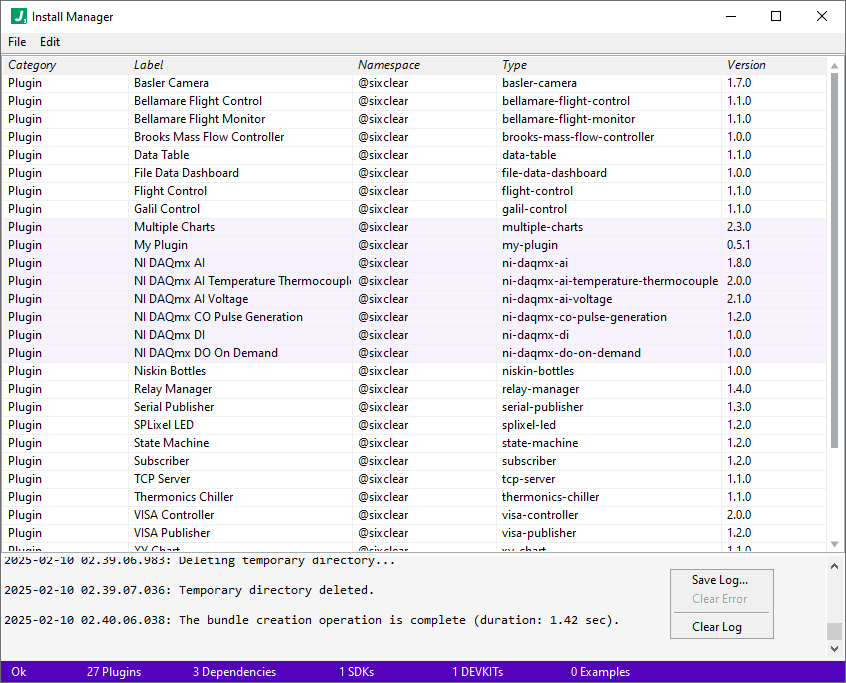
Save Log...- saves the log contents to a user-selected fileClear Error- clears the error state if one exists (greyed out when no error)Clear Log- clears the current session’s log contents